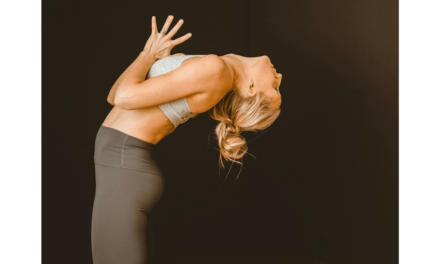
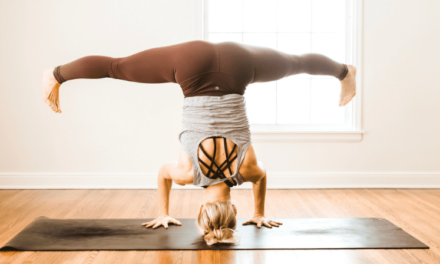
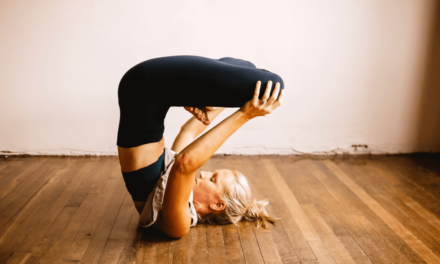
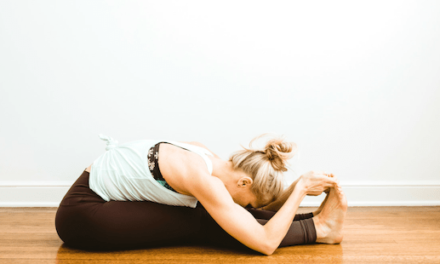
Give me a hand in the air if you are in awe of the crazy postures some yogi’s do on Instagram. And you then think, “That is so cool and inspiring. Shoot, I’m going to try that.”
Often times when we hit our yoga mat, we are ready to go for the gold. We want to work as hard as we can, take all the advanced options the teacher provides and will push through to the very end to prove we can handle that sweaty yoga session.
I’m guilty of all of that. Oh, and also guilty of trying yoga postures or transitions I see on Instagram.
We, teachers, know when you’re pushing through your practice and perhaps you shouldn’t be. We have so much respect when students know their practice and their bodies and have the strength to actually know when they have hit their edge, and dare I say, modify a posture.
So, before you conquer your one-handed handstand, get back to the basics and establish a strong foundation in these postures to set yourself up for long-term success. Even if you have an advanced practice, take a moment to remind yourself of what these postures physically do for you and how to take their importance off your mat.
Set your foundation – 6 yoga postures to know really well
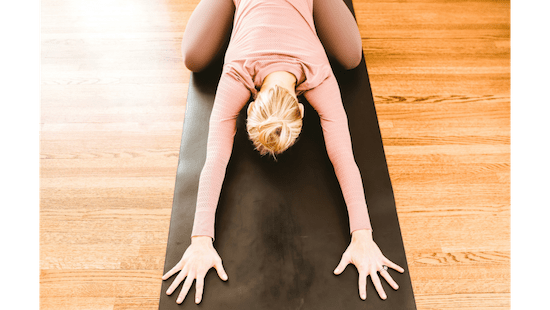
Child’s Pose (Balasana)
It can take a moment to transition into your yoga practice, to let go of life outside of your mat. This posture is famous for starting your practice and allowing you to tune in to your physical body via your breath. Let this posture set the tone for the rest of your practice. By connecting with your breath all throughout your practice, that is when you get the coveted yoga bliss after class.
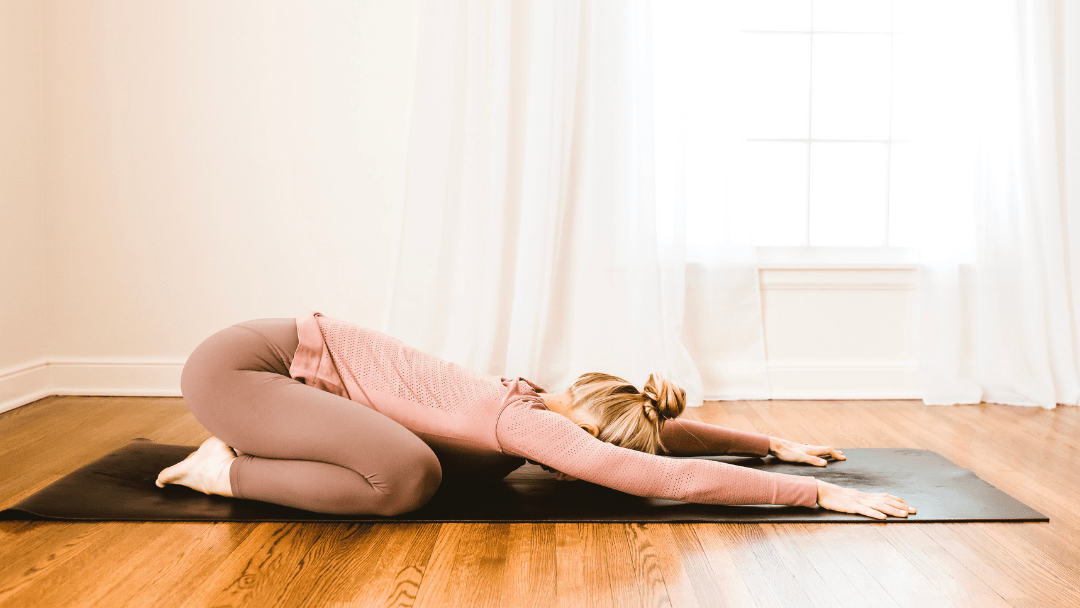
Key Physical Cues
- Bring your big toes to touch at the back of your mat.
- Open your knees as wide as it feels okay in your hips
- Crawl your fingertips long out in front of you.
- Rest your forehead to your mat.
Modifications and Tips
- For tight hips, place a block under your bum to soften tension OR draw knees closer together.
- Press your palms into the mat to root down.
- Inhale breaths lengthen your spine and side bodies, exhale breaths soften your hips to your heels.
- Feel your body breathing.
The benefits
- Begins to open your hips.
- It stretches and elongates your spine
- It calms your nervous system (anytime your head is below your heart) to calm your mind. There is a reason so many yoga classes start with this posture!
- It’s your posture to take a break, and breaks are perfectly ok (remember this off your mat too, breaks are totally acceptable).
Downward Facing Dog (Adho-Mukha Svanasana)
A staple posture in any vinyasa class, Downward Facing Dog is a powerful posture with an abundance of benefits. Alignment is key to a safe practice in this posture.
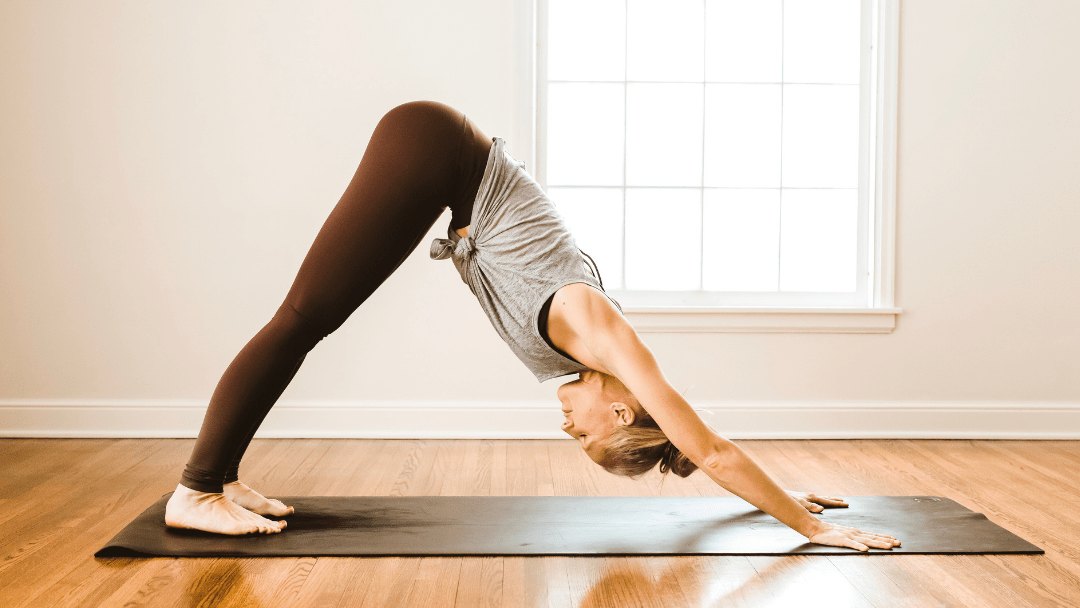
Key Physical Cues
- Hands are shoulder-width distance apart
- Fingertips spread wide with your pointer fingers parallel with the sides of your mat.
- Feet are a hip-width distance apart
- Lengthen your spine and reach your tailbone up and back
- Roll shoulders away from your ears (think external rotation)
- Roll inner thighs to the back of your mat
- Reach your heels toward your mat (it’s more than OK if they never touch!)
- Gaze to the back of your mat with your head and neck relaxed.
Modifications and Tips
- To find your proper hand and feet placement, start in high plank and then press into your hands to lift your hips up and back, that is your foundation for Down Dog.
- If your spine is rounding (check in the mirror to find out), bend your knees as much as you need. This will help relieve tension in your low back, as well as your hamstrings.
Benefits
- Stretches and elongates your spine
- Opens the backs of your legs (oh hello hamstrings!)
- Strengthens your arms
- Calms your nervous system and stimulates blood circulation. Down Dog is an inversion. Anytime your head is below your heart, you are gaining the benefits (no handstand required here).
- Every day we are challenged with opinions, expectations, and simply just noise we don’t need. Downward facing dog is a place to reset and feel balance in all parts of your body. Tune in here, drown out the outside challenges of life.
High Plank / Four-Limbed Staff Pose (Chaturanga-Dandasana)
The coveted chaturanga. Loved by so many, yet many regular practitioners do it incorrectly and risk long-term injury. Be patient with this one, regular practice with proper alignment will allow you to practice yoga well into your 90’s. Seriously.
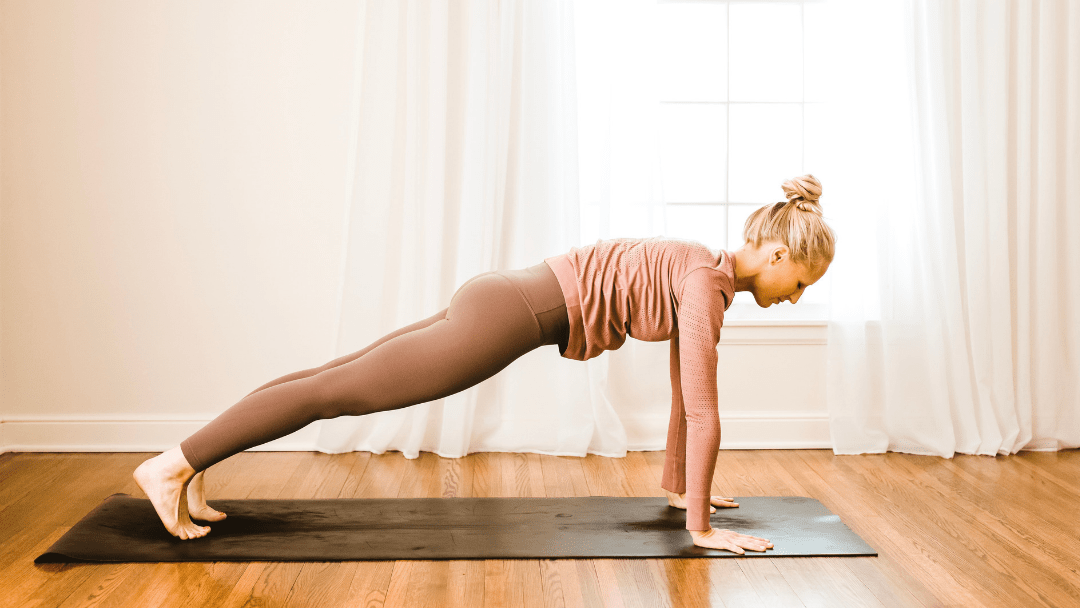
Key Physical Cues
- Start in a high plank. Stack your shoulders directly over your wrists and lengthen your tailbone to your heels.
- Inhale shift forward on your toes to draw your shoulders straight forward.
- Exhale lower no more than half-way down.
- Keep your shoulders at or above your elbows (once shoulders dip below elbows, over time, this runs a high risk of a shoulder injury)
- Squeeze your elbows to your ribs
- Keep your body in one straight and strong line
- Gaze just in front of your mat so your neck is long
Modifications and Tips
- If you are working on building strength, lower down only as low as you can maintain proper alignment, over time, you may reach half-way, but it’s ok if you don’t!
- Drop to your knees in high plank. Lower half-way down, squeezing elbows to ribs. Pause. Lower all the way down to your belly.
- Heck, you can even skip it! If you do have shoulder sensitivity, hold a high plank and skip the whole she-bang all together. You are still building strength holding a high plank (a lot of yoga teachers do this!)
Benefits
- Strengthens arms and wrists
- Strengthens core stability
- Patience is not always easy. But Chaturanga is one of those postures that teaches us consistency will pay off. Stick with whatever you are working through, the results will be worth the journey.
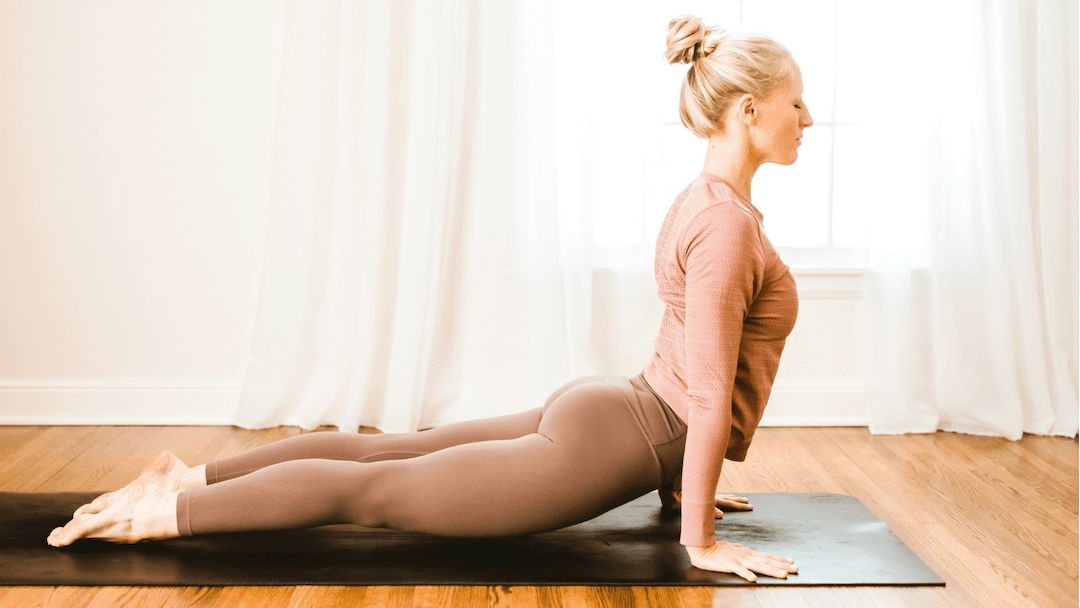
Upward-Facing Dog (Urdvha Mukha Svanasana)
In my own practice, this posture is one of the most satisfying postures. The moment I take a breath in and lift my body up to raise my heart, I just feel this overwhelming presence of love for myself. But this is another one we yoga teachers see so many alignment issues that it is critical to touch on here.
Key Physical Cues
- From chaturanga, inhale and press through your hands to lift your heart forward.
- Roll to the tops of your feet.
- Thighs are off of your mat.
- Roll your shoulders down and back (imagine a really long neck, find the space between shoulder and ear).
- Look straight ahead, resist the urge to look up to the ceiling to keep your neck safe.
Modifications and Tips
- If you have sensitivity in your low back, ensure your feet are at least hip-width distance apart.
- OR, instead of an upward-facing dog, take cobra pose. From chaturanga, exhale and lower all the way down to your belly. Inhale to lift just your chest off your mat. Your belly and legs will be anchored to your mat. Gaze in front of your mat to elongate your spine.
Benefits
- Strengthens the wrists, arms, and spine.
- Opens the front line of your body, stretching your chest and abdominals
- Firms your bum, oh hey!
- What if you always lead with your heart off your mat as you do in Upward-facing dog? Think about what could happen…
Warrior II (
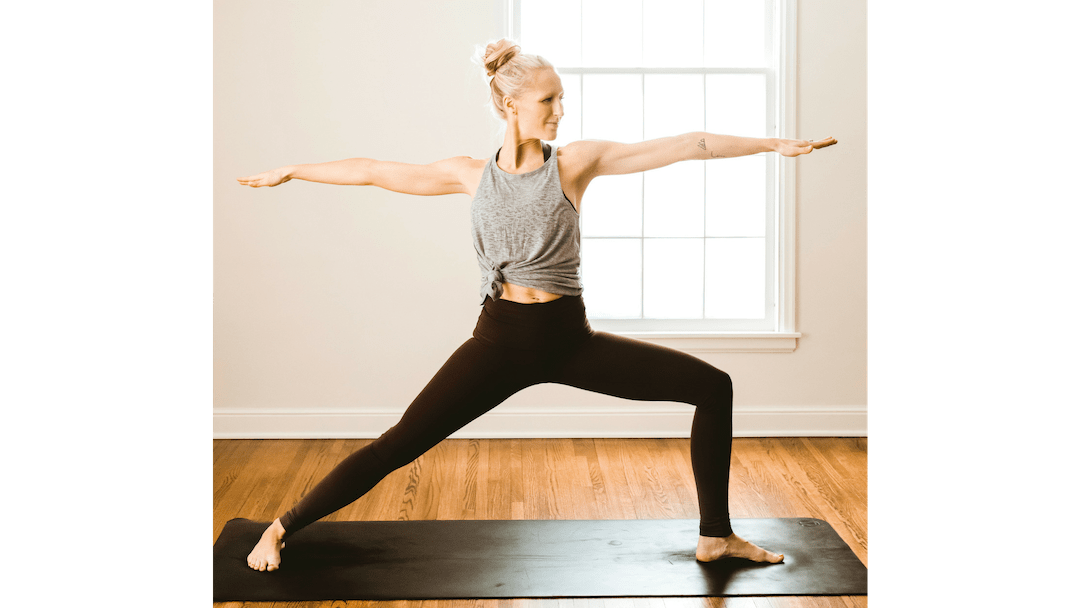
As one of the most iconic yoga postures, and rightfully so, Warrior II is a powerful pose that invokes strength and attention to balance within your body. When properly done, Warrior II will be a favorite to return to day after day as a reminder of how strong you truly are.
Key Physical Cues
- Facing the side of your mat, find a wide stance. Point one foot straight forward and the other slightly turned in.
- Ground down throw the knife-edge of your back foot and root down through your front.
- Bend deep into your front knee, stack your knee directly above your ankle.
- Square your hips to the side of your yoga mat and point your tailbone straight down.
- Stack your shoulders directly above your hips.
- Actively reach your arms forward and back.
- Gaze over your front middle finger.
Modifications and Tips
- Find a wide stance! Seriously, don’t be afraid to get after it and be strong in this posture.
- Your front knee points in the same direction as your toes.
- Draw your belly in, this is where you can feel your core strength support your body. From your core, send energy down through your feet and up through the crown of your head.
- Ask yourself where can you soften in this posture, is it your shoulders, the muscles in your face?
- Imagine hugging your muscles to your bones.
Benefits
- Builds strength in your legs
- Hip opener
- Builds strength in your arms
- This posture reminds me to keep moving forward through the obstacles in our life. We are human, we make mistakes. Stay strong and correct your course with compassion in your thoughts and intentions in your actions.
Corpse Pose (Savasana)
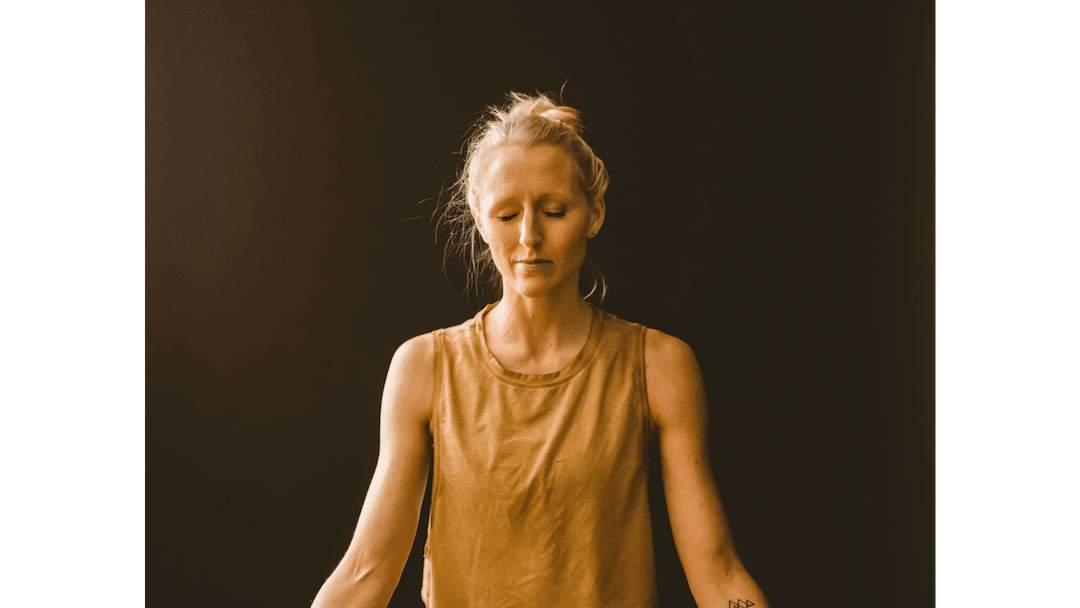
Arguably the most important posture you do on your yoga mat, Savasana is where all the magic sinks in. It’s not nap time, but rather the moment when you are truly awake and feeling everything you just accomplished in your practice.
Key Physical Cues
- Lay comfortably with your feet extended to the outer corners of your mat and your arms down by your side, palms face up.
- Gently scoop your shoulder blades underneath you.
- Allow all the muscles in your body to soften and melt (check in your face is even relaxed, remove your tongue from the roof of your mouth).
- Release intentional breathing and let go.
Modifications and Tips
- For any low back sensitivity, bend your knees and place your feet hip-width distance on your mat.
Benefits
- This is your time to just be. How often do we get to do that?
- Enjoy stillness and let thoughts pass on by as they come, find quiet.
- Most importantly, let go. Literally, this posture is called Corpse Pose, it’s the end of what is no longer serving us. When we exit the posture, we have a fresh start to take our practice and our intentions out and into the world.
Set a strong foundation in whatever you do. It’s everything. From how your feet stand on your yoga mat to the most basic tasks in life like brushing your teeth.
When you’re solid in your base, the next level of postures or life adventure will be safely supported.
